|
You will so enjoy these fun and versatile bracelet wires! Use your imagination, use different beads, shapes, sizes and make coils of all sorts and in different wire colors to enjoy! Coil measure... 28 gauge wire on 22 gauge wire, around 16 gauge dowel wire... so, 4 feet of 28g on 10 inches of 22g, makes 1.5 inch double coil on a 16g dowel NOTE! If you don't already know how to coil wires... watch my video here. 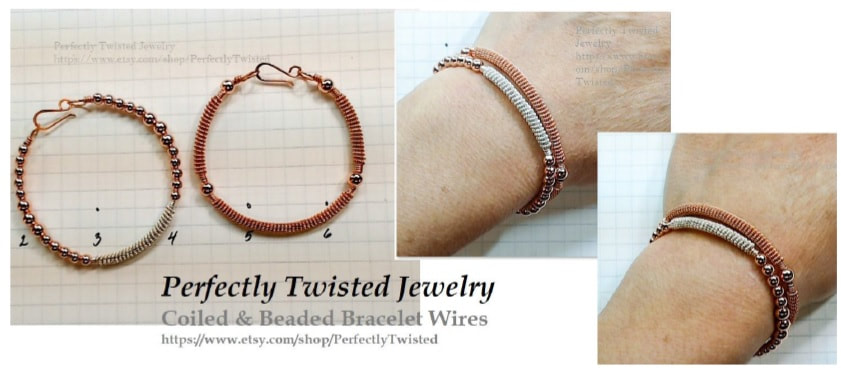
1 Comment
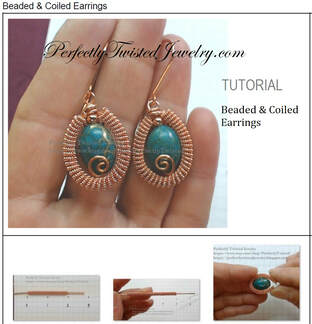 Start these beautiful earrings with your favorite beads and 1.5 to 2 inches of double coil depending on the size of your beads. There are 2 versions of earrings in this file. One for beaded earrings, the second for coiled and unbeaded earrings. At the end of this tutorial are also instructions for making your own earring hooks. Enjoy! ~ A Perfectly Twisted Mind is a Beautiful Creation ~ Coil measure... 28 gauge wire on 22 gauge wire, around 16 gauge dowel wire... so, 4 feet of 28g on 10 inches of 22g, makes 1.5 inch double coil on a 16g dowel NOTE! If you don't already know how to coil wires... watch my video here. It's 1.36 minutes long and shows the basic way to make a single wire coil, then the double coil. I show both hand and drill methods. The drill is much easier if you are building several Coil beads to use in fun projects such as my earrings and free bracelet tutorials here on this blog. It's much faster than hand coiling and when I get my drill out to coil, I create many of them to use in future projects. Enjoy!!
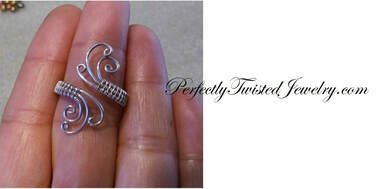 Adjustable Spiral Weave Ring This is a gorgeous and simple beginner ring with endless variations! Play around with larger or smaller gauges, beads and different types of wire for variety. This is a great project for those beginning to wire weave! It gets you used to making a ring, without troubling too much over sizing issues just yet. Add beads for variety! The tutorial shows you how! Enjoy! Material and Tools: 18g Sterling Silver Round Wire Qty 3, Nine inch lengths 28g Sterling Silver Round Wire Qty 1, 4 foot length, for weaving
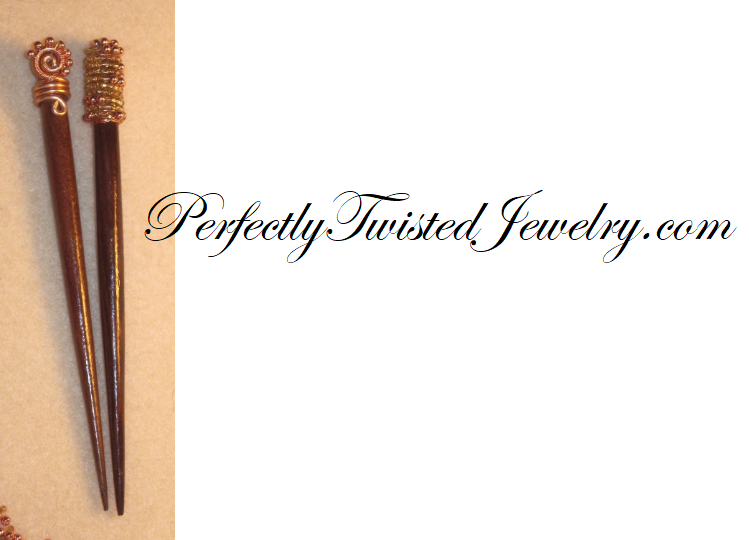
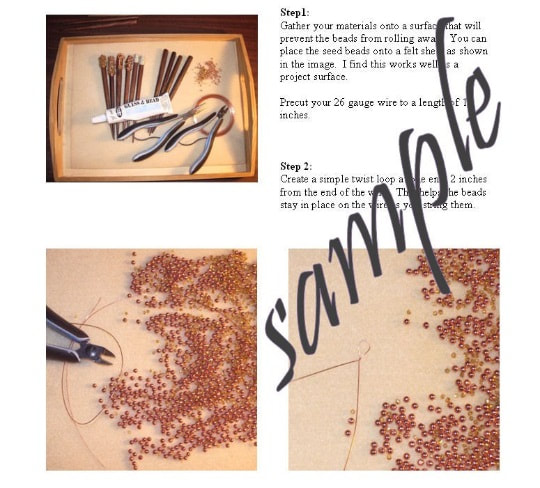
 2019 Will bring new tutorials to my store, so I've decided to move some of my older, beginner tutorials out of the store and into the FREE category. Enjoy these hair sticks! Make them with different colored seed beads and try color coated copper! That wire comes in many different colors too! In this free lesson, you will learn how to create beautiful and durable hair sticks. They are not only decorative, but hold the hair quite well. Materials: • Two, 6 inch wooden hair sticks • 12 inches, Copper Zebra wire, 26 gauge • 12 inches, Copper Zebra wire, 26 gauge • 8 inches, Copper wire, 16 gauge • Aleene’s Platinum Bond, Glass & Bead Slick Surfaces Adhesive (Or any adhesive that will bond the materials) • Many, 4 to 6mm Copper and / or gold glass seed beads • Instant, Krazy Glue, brush applicator
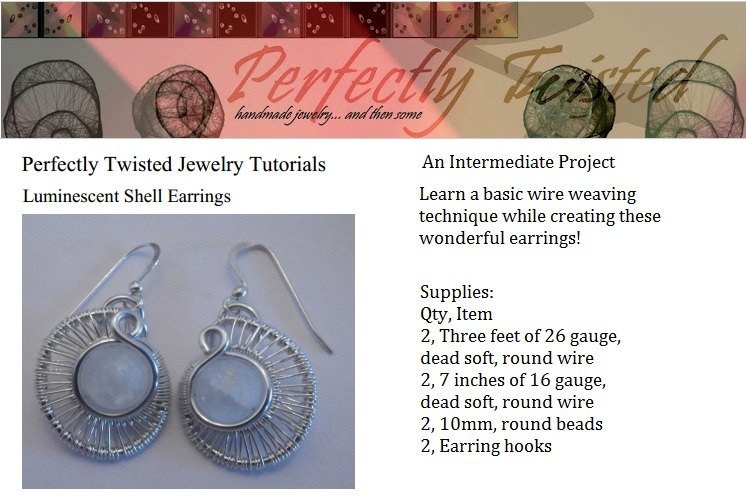
You see it correctly! I'm happy to give this tutorial away as my gift for all of you beginner wire weaving enthusiasts! Click the link below to download your free earring tutorial. Check out other free tutorial from my blog! My teaching schedule, details and class registration links are in my Calendar. Shop / Classes for all Class Registration links.. Enjoy your wire!
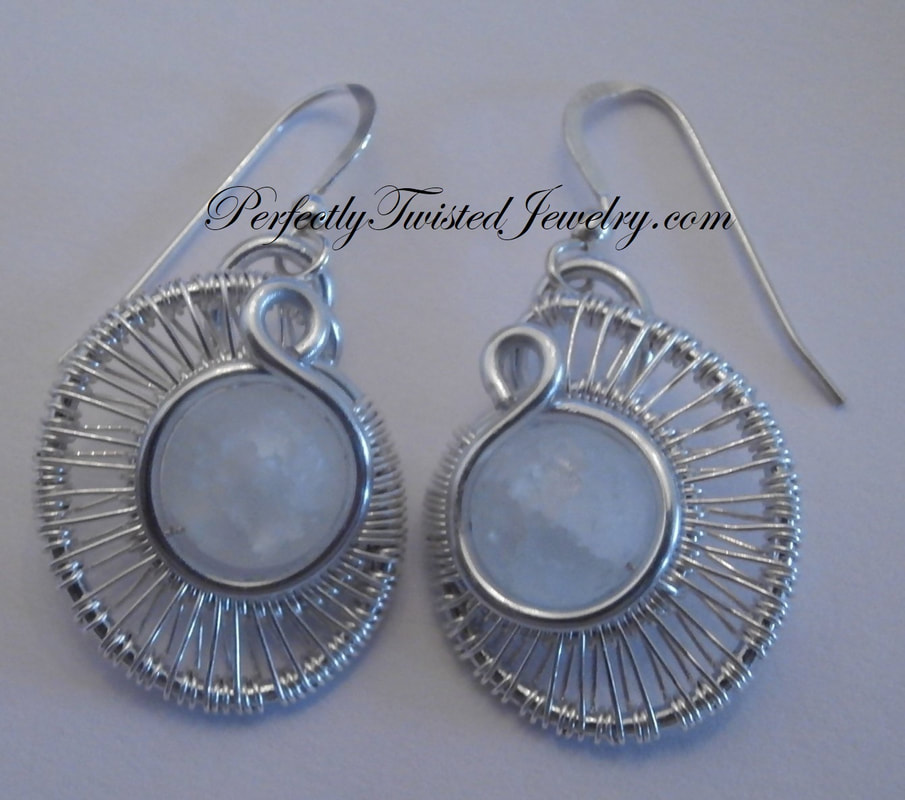
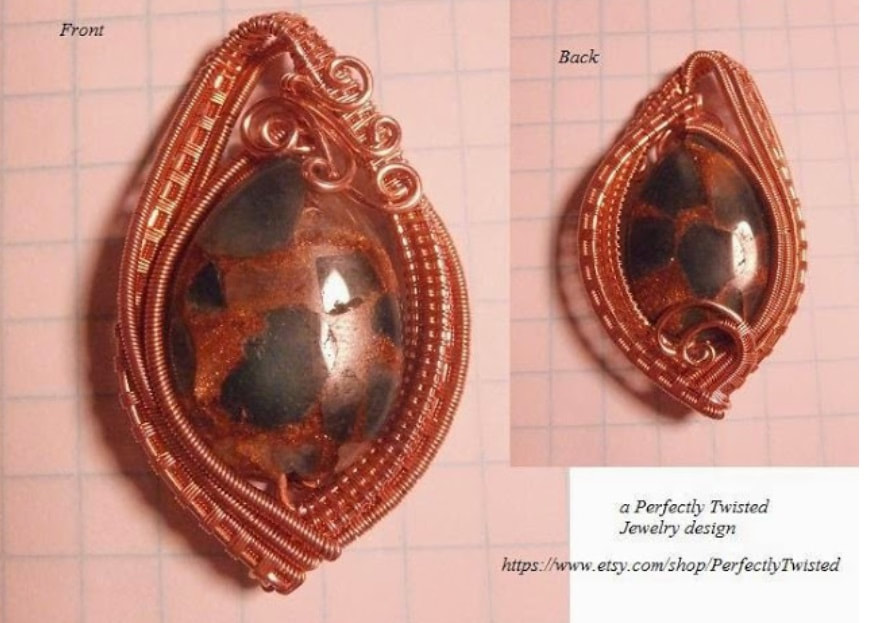
 Here is another little earring tutorial that I hope you enjoy. These don't take that long to make, are pretty simple and make a wonderful pair of earrings. It's a versatile wrap because this can be done with many different types of beads, doesn't require a lot of wire and allows you some room to be creative with either side of the earring. Offering a customer a 'two sided' pair of earrings or a pendant wrapped that way, makes for a bonus reason to buy your jewelry! Plus it allows for you to enjoy both sides of the finished stones. Sometimes, it's hard for me to 'choose the front'. ;)
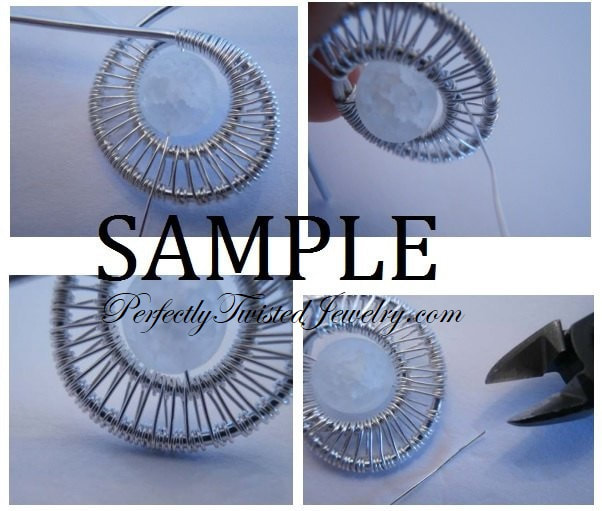
Click here for your free earring tutorial! 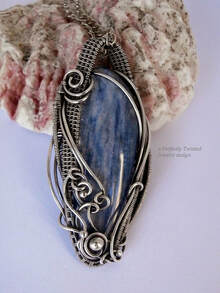 My other tutorial projects can be found for sale in my store. While this free project is a 'visual' about design... the tutorials within my store contain all the fine details, including material information, lengths and step by step instructions for each project. When visiting my store, please feel free to read my customer reviews! Click here for Part 2 of the tutorial 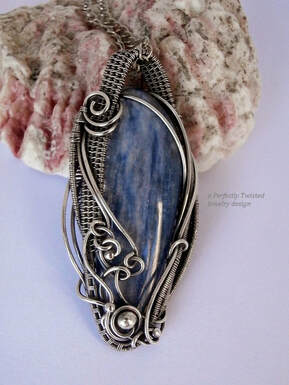 I've been emailed several times, being asked if I could create a tutorial on how to wire wrap an un-drilled cabochon. It's a difficult request in that most designer cabochon are not of a uniform shape or size... making the giving of exact measurements a hard thing to do.
Click here for Part 1 of the DIY tutorial Then I realized... more important than giving exact measurements, is to perhaps, give the 'idea' and thought process behind wrapping an un-drilled stone. So I invite you into my studio during the creation of this pendant... and I'll share 'what I was thinking' while I built it. I'm still a learning student of this art myself... so there might be better ways, but this is one of 'my ways' ;) When wire wrapping, using a stone or bead WITH a hole makes 'capturing' the stone or bead, fairly easy. You put a wire through the hole somewhere in your design process and wrap around it in a beautiful way. Wrapping a cut cabochon, with no holes, is another matter and requires a different thought process.
Click for your FREE! Reversible Wire Weaved Pendant tutorial
|

Izzy G.Simple Complexity Archives
October 2019
|
||||||||||||

 RSS Feed